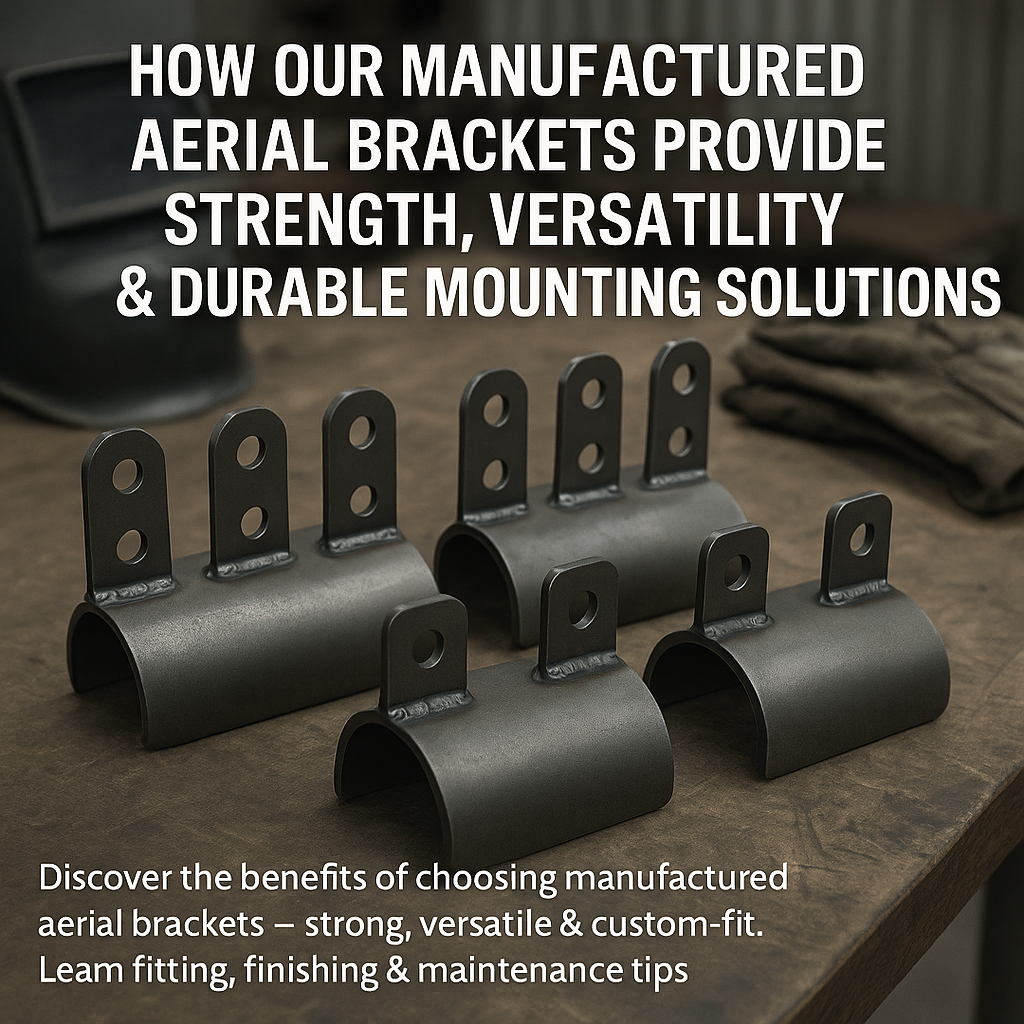
Our Manufactured Aerial Brackets
Share
Manufactured Aerial Brackets
When it comes to adding aerials, antennas, or spotlights to your vehicle, having a strong, reliable bracket is key. Our aerial brackets are designed and manufactured in-house from 3mm mild steel, or 4mm aluminium. Whether you need a single, double, or multi-bracket configuration, we can customize them to suit your vehicle’s dimensions and your specific requirements.
Advantages of Buying Our Manufactured Brackets
✅ Strength and Durability:
Made from 3mm thick steel, our brackets are designed to handle tough conditions — whether you’re on corrugated roads, bush trails, or highway drives.
✅ Custom Sizes:
We cut these brackets in-house, allowing you to select your preferred pipe diameter, spacing, and number of aerials to match your vehicle's configuration.
✅ Cleaner Finish:
Because we manufacture these ourselves, we control the dimensions, cut, and form to a perfect fit — reducing gaps and weak points.
✅ Versatility:
Suitable for 4WDs, utes, trucks, or even marine applications. The brackets can be made to suit nearly any tube, roll bar, or bull bar.
✅ Support Local:
All brackets are designed and manufactured here in Australia, by Australians. Your purchase directly supports a small business and the local industry.
Fitting instructions (General Guide)
Installing your manufactured bracket is a reasonably straightforward process, but it's crucial to follow proper procedure to avoid damaging nearby components and to produce a strong, durable weld.
1️⃣ Prepare Your Workspace
Before striking an arc, make sure you:
-
Remove or protect nearby components:
Cover nearby paint, seats, rubber components, and wiring with welding blankets to avoid sparks damaging them. -
Turn off or disconnect the vehicle's battery:
To avoid damaging sensitive electrical components.
2️⃣ Prepare the Surface
Remove any paint, rust, or debris from the area where you intend to weld. Ideally, you want a clean, bare metal surface for a strong bond.
3️⃣ Tack into Position
Using a welder, put a few small tack welds in place first. Check for proper alignments and adjust if necessary.
4️⃣ Final Weld
Once you’re happy with the placement, proceed to fully weld the brackets to the tube or bar.
Make sure your welds are strong, consistent, and adequately penetrated.
Finishing Your Bracket
Once you have finished welding:
✅ Grind and Sand:
Remove any weld spatter and smooth down the welds if you want a clean appearance.
✅ Clean:
Wipe away any grinding debris and grease with a solvent or degreaser.
✅ Paint or Powder Coat:
To match your vehicle and protect against corrosion, apply a primer followed by paint or consider sending it off for a durable powder coating.
This not only prevents rust but also adds a finished, professional look.
